-
Open the Disk Utility program.
Open Disk Utility from the "Utilities" folder in "Applications". -
Create a new disk image.
With Disk Utility open and in focus, select File > New Image > Image from Folder. Select the folder you would like to encrypt, or create one and select that. Note that your original folder will not be deleted. -
Customize your disk image.
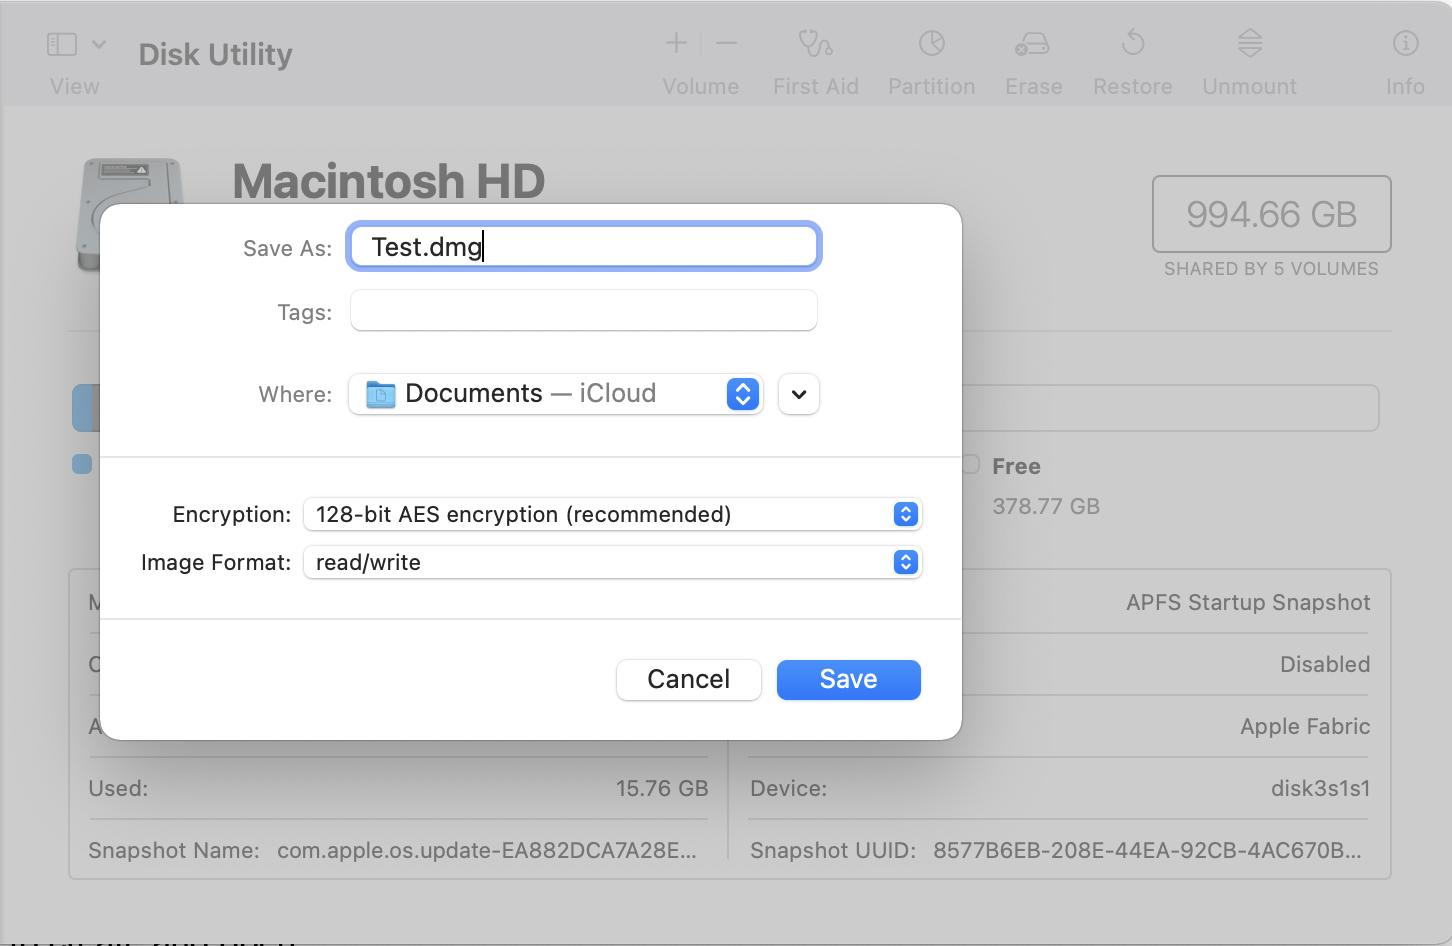
- In the Save As: field type a descriptive name, e.g., lockedfiles.
- In the Where: field, select where you want the archive to be created (you can always move the archive later -- for now, select Documents).
- In the Encryption: field, select the desired level of encryption:
- AES-128: Recommended. Faster. More than adequate for most needs.
- AES-256: Slower. Use only if you have a nemesis with a quantum computer.
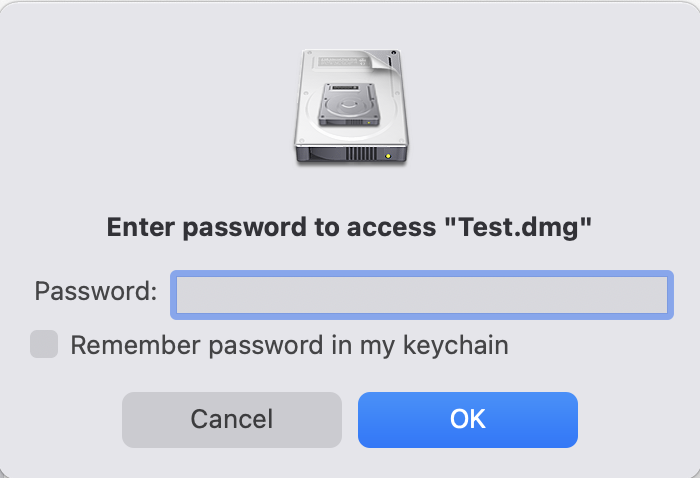
- Please select a strong password. But please pick one you'll remember! Note if you lose this password, absolutely no one on Earth can help you recover these files.
- Format:
- Read-only: The disk image can't be written to, and is quicker to create and open.
- Compressed: Compresses data, so the disk image is smaller than the original data. Read-only.
- Read/write: Allows you to add files to the disk image after it's been created.
- When you are done entering these settings, click Save.
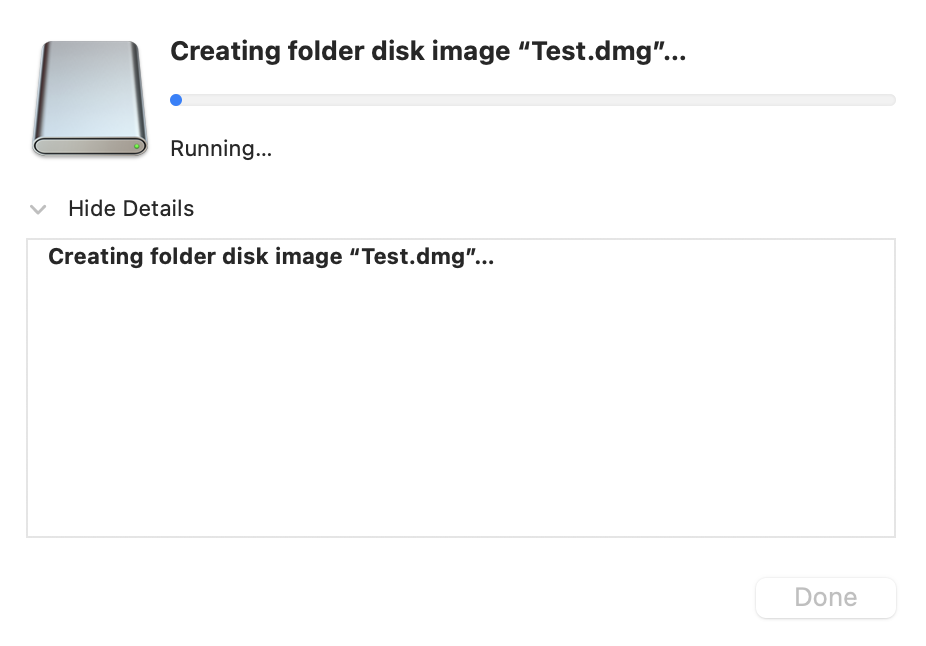
You should see this screen when complete!
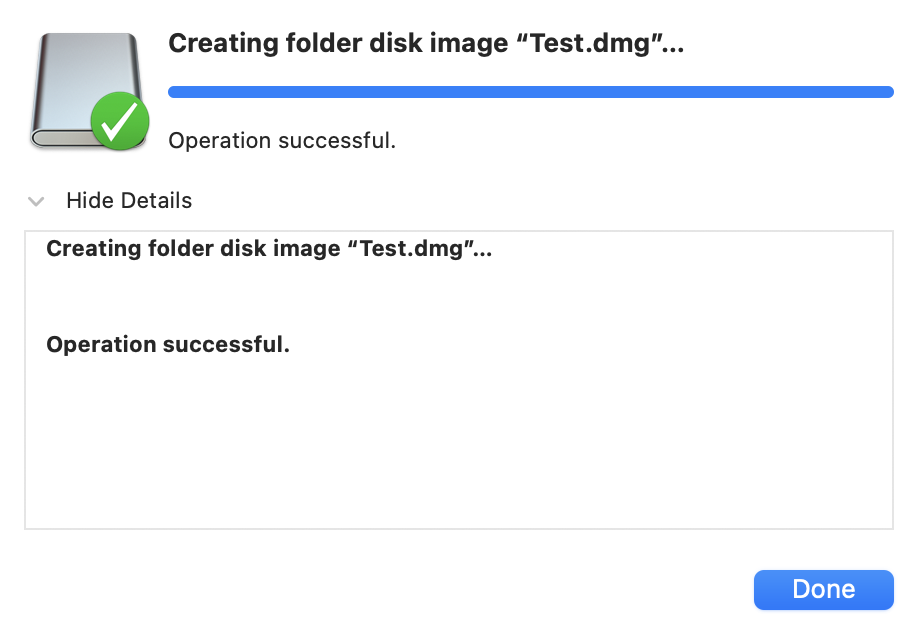
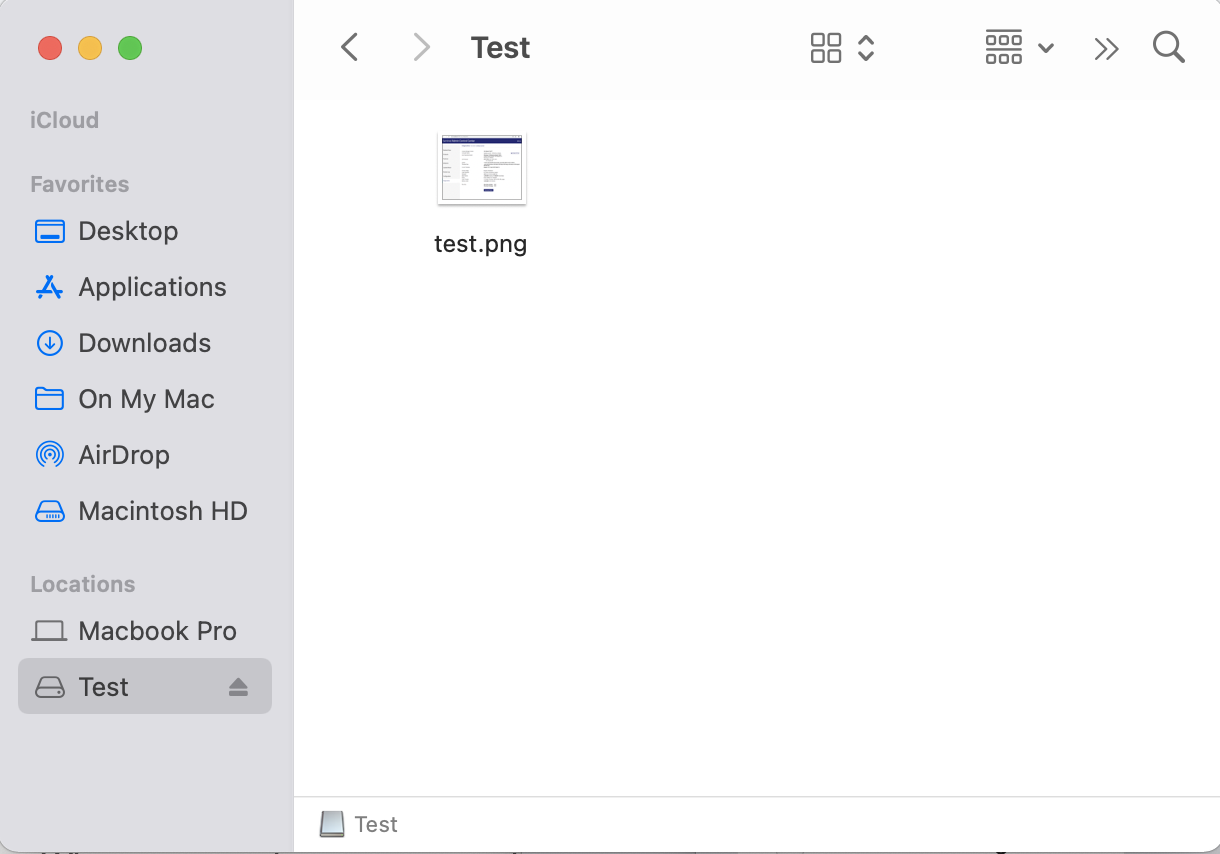
You now have your original folder and your encrypted Disk Image file (.dmg) saved. Delete your original folder and you are done!