macOS Encrypted Archives
Note: For macOS full disk encryption, see our page on Filevault. For cross-platform encrypted archives, click here.
Disk Utility is a versatile tool that can, among other things, create stand-alone archive files. These archives are called disk images and can be encrypted such that they are accessible only by password. Here are some basic instructions on how to create a disk image and encrypt it with a password. If you get stuck at any point during this process, contact cus@reed.edu for help.
Creating an Encrypted Archive
-
Open the Disk Utility program.
Open Disk Utility from the "Utilities" folder in "Applications". -
Create a new disk image.
With Disk Utility open and in focus, select File > New Image > Image from Folder. Select the folder you would like to encrypt, or create one and select that. Note that your original folder will not be deleted. -
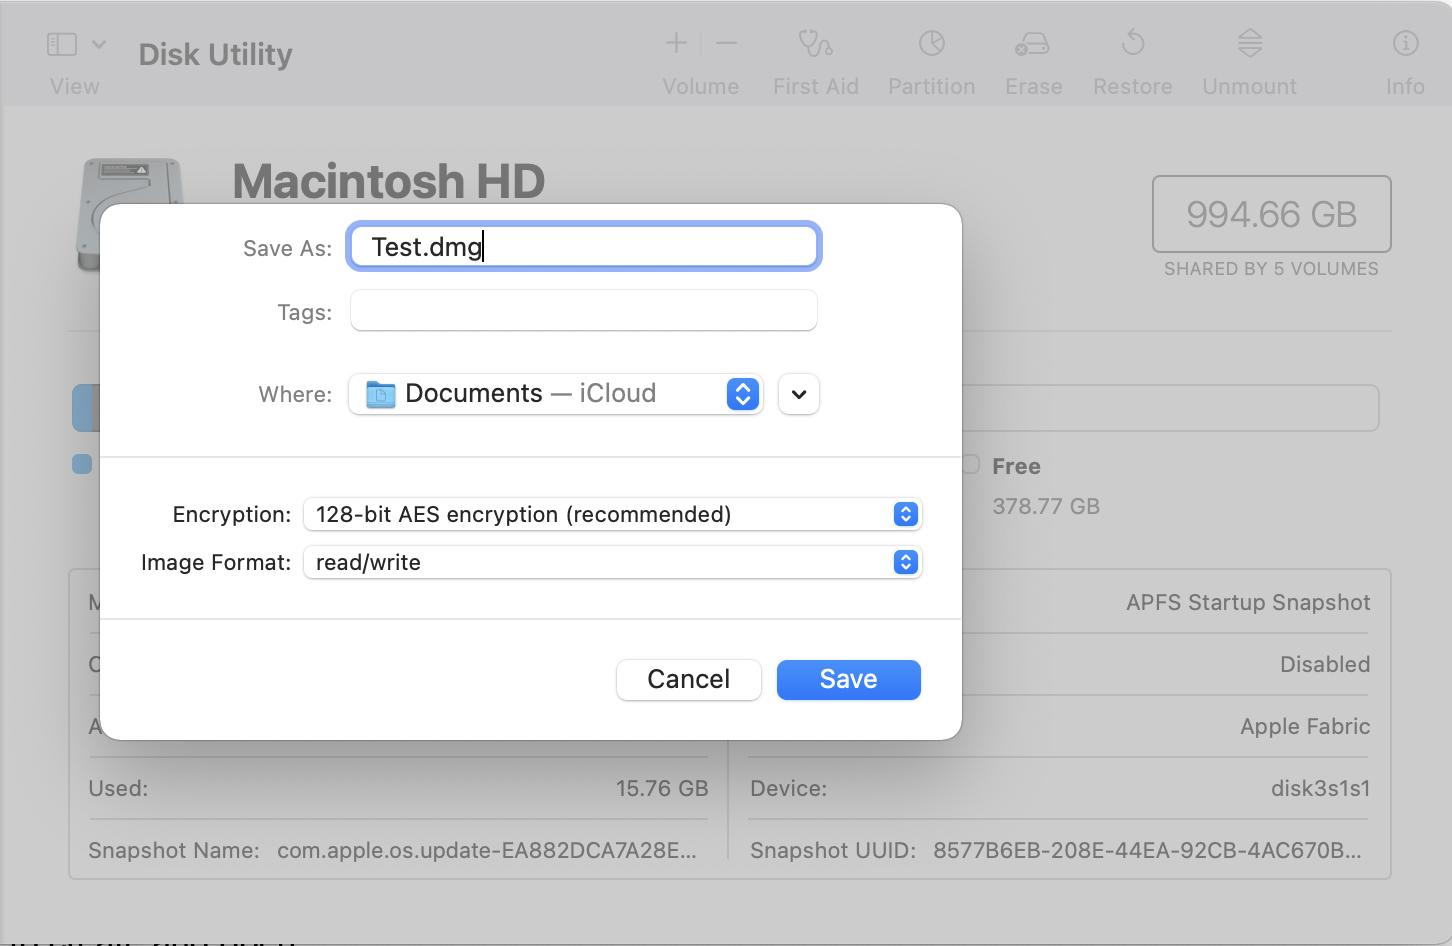
Customize your disk image.
- In the Save As: field type a descriptive name, e.g., lockedfiles.
- In the Where: field, select where you want the archive to be created (you can always move the archive later -- for now, select Documents).
- In the Encryption: field, select the desired level of encryption:
- AES-128: Recommended. Faster. More than adequate for most needs.
- AES-256: Slower. Use only if you have a nemesis with a quantum computer.
- Please select a strong password. But please pick one you'll remember! Note if you lose this password, absolutely no one on Earth can help you recover these files.
- Format:
- Read-only: The disk image can't be written to, and is quicker to create and open.
- Compressed: Compresses data, so the disk image is smaller than the original data. Read-only.
- Read/write: Allows you to add files to the disk image after it's been created.
- When you are done entering these settings, click Save.
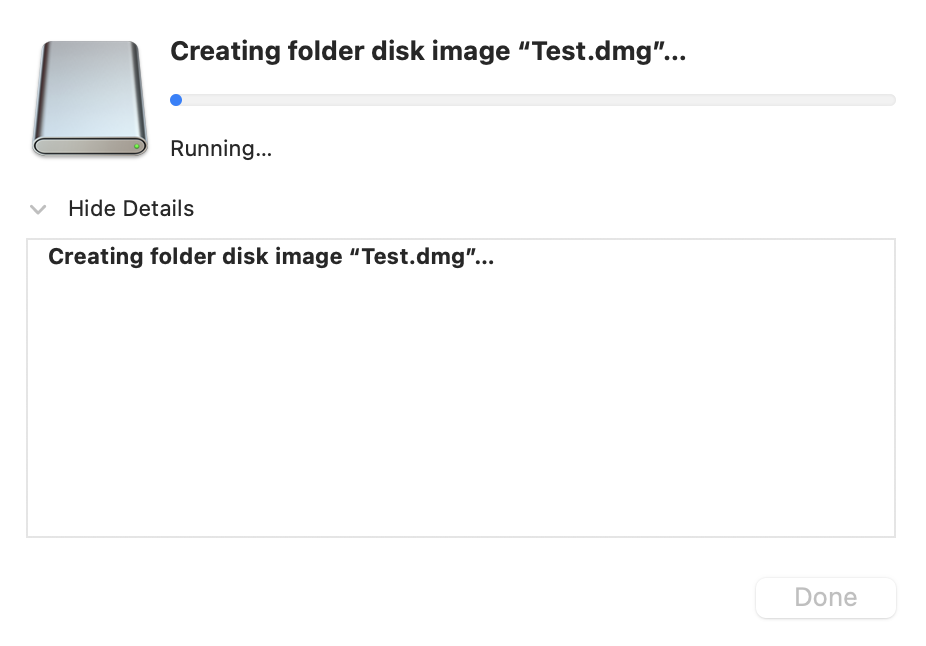
You should see this screen when complete!
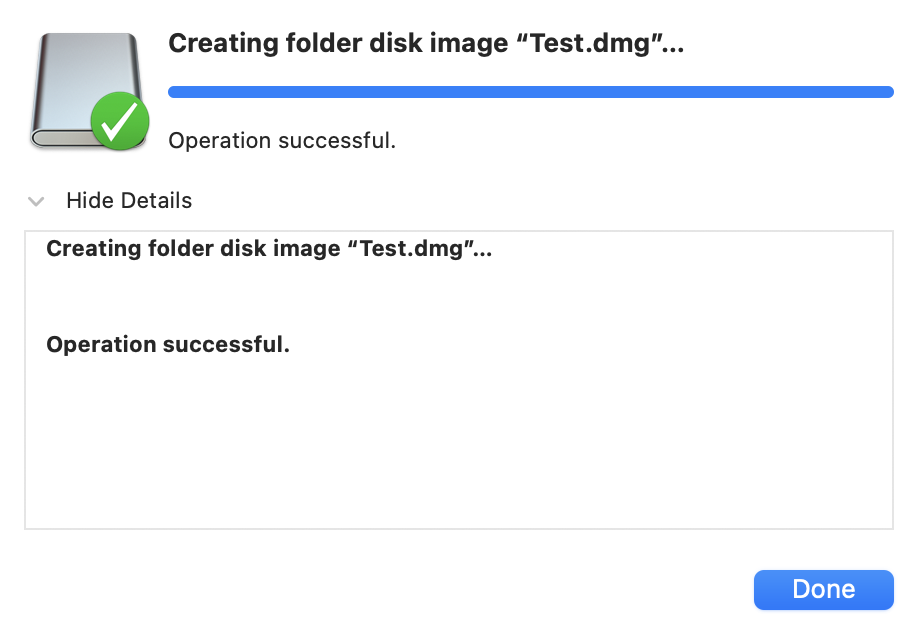
You now have your original folder and your .img Disk Image file saved. Delete your original folder and you are done!
Accessing an Encrypted Archive
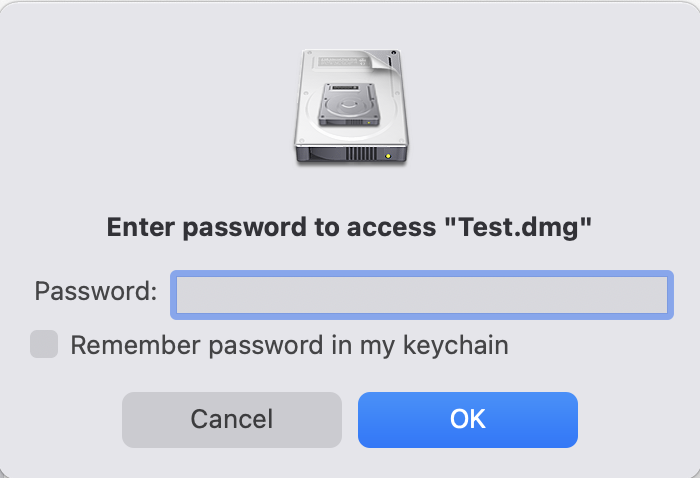
To access the files in your encrypted disk image, "Mount" the image by double-clicking the .img. You will be asked for your password.
Please do not check "Remember password in my keychain," this means your computer will automatically remember and input the password every time you want to mount the disk image. Additionally, your password will be visible to anyone with your macOS password in the Keychain Access app. Convenient, but negates the entire point of encryption.
You should now see your mounted disk image in the Finder sidebar.
While the disk image is mounted, the files are unencrypted. You can access them (or modify them if you chose read/write). When you are done, unmount the disk image in Finder. Unmounting will re-encrypt the disk image.
If you have any questions about encrypting your data, contact Computer User Services (or ACS for administrative staff).