How to use the Gmail Web Interface
To access Reed's Gmail over the web, go to mail.reed.edu and sign in with your Kerberos username and password.
- Set up a filter
- Set up a signature
- Set up a vacation message
- Report spam
- Turn conversation view on/off
- Organize your email with labels
- Hide labels in Gmail or a mail client
- Send from an alternate email address
- Using a "delegate" e-mail account (a replacement for some shared folders)
- Add a preview pane to your inbox
- Gmail web-client keyboard shortcuts
- Canned Responses
- Turn Social/Promotion/other categories tab on/off
How to setup a filter
- Log into Gmail's web interface at mail.reed.edu
- Click on the Gear icon in the upper right, then choose See all settings.
- Click on the Filters and Blocked Addresses link, and then the Create a new filter link.
- Enter the desired criteria (From address, To address, Subject, Has the words, Doesn't have), and then click the Create filter link.
- Choose the appropriate action(s) that you would like to happen for these messages.
- If existing emails matching your criteria are found, you can check the box to Also apply filter to X matching conversations.
- Click Create Filter.
Example: Redirecting email to a specified folder
This example shows how to create a filter to moves email to a specified folder.
- Log into Gmail's web interface at mail.reed.edu
- Click on the Gear icon in the upper right, then choose See all settings.
- Click on the Filters link and then the Create a new filter link.
- Enter the desired criteria (From address, To address, Subject, etc.), and then click the Create filter with this search link.
- Check the box to Skip the Inbox (Archive it) (this step ensures the message does not remain in your Inbox).
- Check the box to Apply the label and select the desired label/folder (note: Gmail uses the term label instead of folder).
- If existing emails matching your criteria are found, you can check the box to Also apply filter to X matching conversations.
- Click Create Filter.
How to setup a signature
- Log into Gmail's web interface at mail.reed.edu
- Click on the Gear icon in the upper right, then choose See all settings.
- Under the General tab, scroll down to the Signature section.
- You may need to select a font before the cursor will appear and allow you to enter text. Enter the desired signature in the box.
- If you prefer, check the box to Insert this signature before quoted text in replies and remove the "--" line that precedes it.
- Click the Save Changes button at the bottom.
How to setup a vacation message
- Log into Gmail's web interface at mail.reed.edu.
- Click on the Gear icon in the upper right, then choose See all settings.
- Under the General tab, scroll down to the Vacation responder section.
- Select the Vacation responder on radio box.
- Set the first day and end dates. Note: if you specify no end date, you will need to turn off the vacation message manually when you return.
- Enter the desired subject and message text.
- If you want to limit who receives the vacation message, you can check the boxes so it only goes to people in your Contacts or people at Reed College.
- Click the Save Changes button at the bottom.
- While vacation responder is enabled, people who email you will receive your vacation message once every four days. Messages classified as spam and messages addressed to a mailing list you subscribe to will not receive your vacation response.
How to report spam
- Log into Gmail's web interface at mail.reed.edu
- Click on the message you want to report.
- Click the stop sign icon
 in the toolbar above the message, near the Delete button.
Note: If a legitimate message is marked as spam, click on the Not Spam icon in the toolbar above the message.
Turn conversation view on/off
"Conversation View" sets whether or not emails of the same topic are grouped together. You can enable or disable this feature easily:
- Log into Gmail's web interface at mail.reed.edu
- Click the Gear icon, and then choose See all settings.
- In the General tab, find the "Conversation View" option and turn it on/off as desired.
- Click Save Changes at the bottom of the page, and head back to your inbox to see the reorganized messages!
How to organize your email with labels
Instead of folders, Gmail uses labels to help organize your messages. When your email was migrated to Gmail, any folders you had were preserved and are now considered labels in Gmail. One of the benefits of labels is that an email can have multiple labels. Read below to learn how to create new labels and apply a label to a message in Gmail.
There are some special labels in Gmail: All Mail, Drafts, Sent Mail, Spam, Starred and Trash. When viewing these in a mail client, they will be prefaced with [Gmail]/. Here is a description of each:
- All Mail - all of your messages including Sent, Archived and the ones in your Inbox
- Sent Mail - all of the messages you send
- Spam - messages that are tagged as spam
- Trash - messages that have been marked for permanent deletion
- Important - messages that Gmail thinks are important. Learn how to train messages for importance.
- Starred - can be an eye-catching way to mark a special message or used as a visual reminder to follow up on a message later. Learn more about starred messages.
How to create a label
- Log into Gmail's web interface at mail.reed.edu
- Click the More link on the left side and then the Create new label link.
- Enter the name for the label. You also have the option of nesting labels if you desire.
- Click Create.
- Your new label will appear on the left side.
How to apply a label to an email
There are a number of ways to apply a label to an email:
- When viewing the email, click the the labels icon from the toolbar at the top and select the desired label.
- When viewing your Inbox, place a checkmark next to the email(s), click the labels icon from the toolbar at the top, and select the desired label.
- When viewing the email or your Inbox, drag a label from the left side and drop it on the email.
Note: To remove a label, click on the email and click the "x" icon next to the label name that appears above the message.
How to hide labels in Gmail or a mail client
Labels (which serve a similar purpose to folders) can be hidden from view in Gmail or your mail client, such as Thunderbird. Here's how:
- Log into Gmail's web interface at mail.reed.edu
- Click on the Gear icon in the upper right, then choose See all settings.
- Click on the Labels link, and you will be presented with all the default Gmail labels and any that you created.
- If you want to hide a label from the web view, click the Hide link from the Show in label list column.
- If you want to hide the label in a mail client, uncheck the Show in IMAP checkbox next to appropriate label.
How to send from an alternate email address
If you need to send an email from an alternate address, you must first confirm that you are the owner (or a recipient in the example of a distribution list).
- Log into Gmail's web interface at mail.reed.edu
- Click on the Gear icon in the upper right, and then choose See all settings.
- Click on the Account link and then, under Send mail as:, click Add another email address you own.
- Enter in the email address you want to add. Uncheck the Treat as an alias box.
- Click Send Verification.
- Follow the instructions in the email to confirm you are a recipient of the email address.
- If you want your Reply address to match the To address when sending replies, go back to the Gear icon > Settings. Click on the Account link, under When replying to a message, check Reply from the same address the message was sent to.
- Optionally, you can set the alias as your default address by clicking "make default".
Using a "delegate" e-mail account (a replacement for some shared folders)
As a replacement for some shared folders, you may have been "delegated" access to a secondary e-mail account that multiple people use. Follow these instructions to access it:
- Go to https://mail.reed.edu and login normally with your own username and password.
- Click your username in the top right of the page to be presented with a list of accounts you have access to.
- Click the delegate account you want and you'll be sent directly to its Inbox.

NOTE: Access to these delegate accounts will only work from a web browser on your laptop/desktop (ie. not from a mobile device).
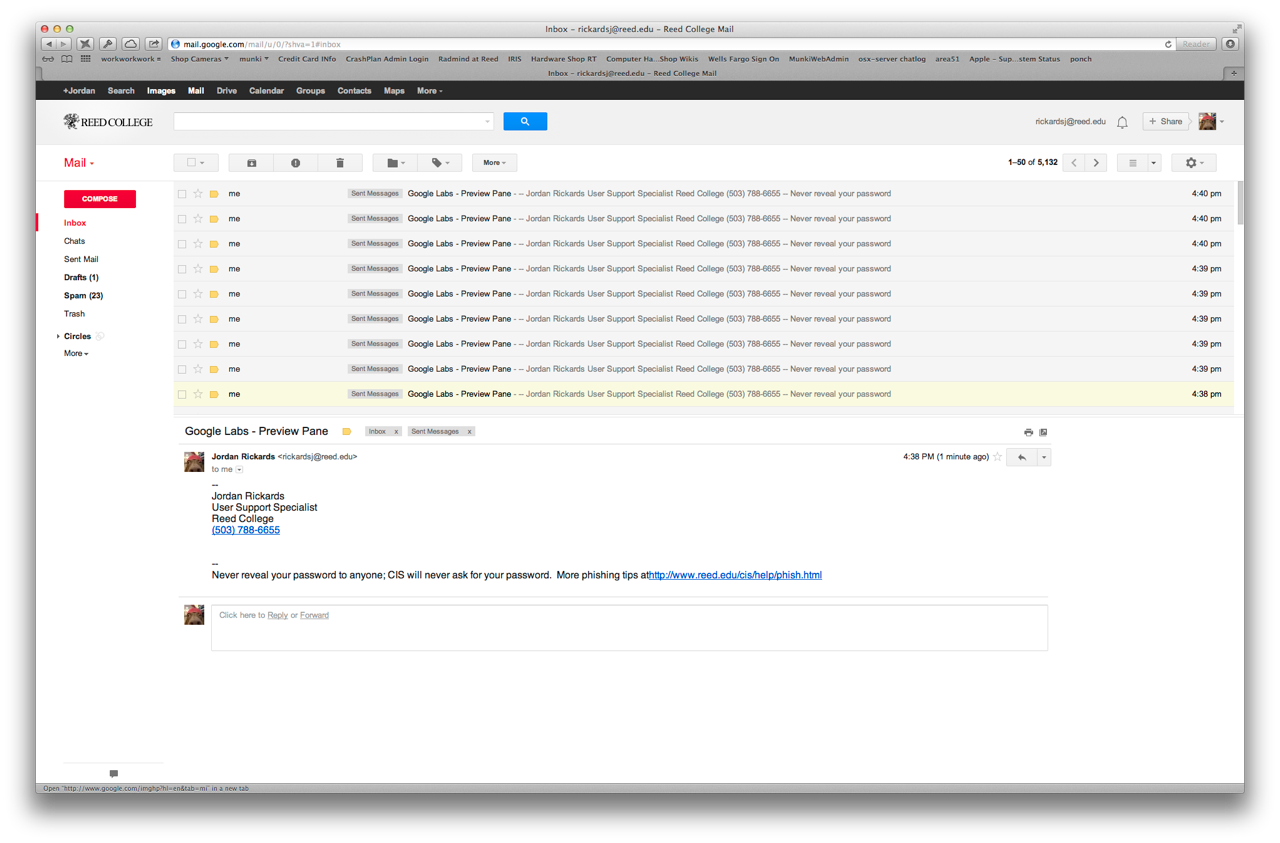
Add a preview pane to your Inbox
If you like Thunderbird's "Preview" pane, you can add this feature to Gmail as well. This will provide a preview pane to read mail right next to your list of conversations.
NOTE: Any "Account" or "Lab" settings must be made under your actual user account; delegated accounts won't work. However, once the setting is enabled, it can be used by every account you have access to.
- Log into Gmail's web interface at mail.reed.edu
- Click on the Gear icon in the upper right, and then choose See all settings.
- Click on Inbox.
- Search for Reading Pane and enable it. Optional: Select reading pane position you would like to default to.
- Click Save Changes at the bottom of the page.
- You can quickly change reading pane position and enable/disable it with the button to the top-right of your inbox.
Gmail web-client keyboard shortcuts
If you would like some documentation on how to efficiently use the Gmail web-client with keyboard shortcuts, refer to this helpful Google documentation page.
Canned Responses
- Click on the Gear icon in the upper right, and then choose See all settings.
- Click on the Advanced tab on the top bar.
- Scroll down until you see the section on Templates, and enable it.
- Make sure you click Save Changes at the bottom of the screen.
When you compose a new e-mail, write out your message that you want to be "canned" in the template. When ready, click the three vertical dots in the lower right-hand corner of the compose window, select Templates, then select Save draft as template, and then save this new template by clicking Save as new template.
In order to edit the template, have a new Compose window up, click the three vertical dots in the lower right-hand corner, then select Templates, then click on the template you wish to edit. This will insert the template into your email. Once it is inserted, make any changes to the template. Once you have finished making changes, click the three vertical dots once again. then select Templates, then select Save draft as template, then select the name of the template you were editing. This will overwrite your previously saved template. Gmail will prompt you about overwriting your previous, unedited template- click save to confirm the changes.
To delete templates, have a new Compose window up, click the three vertical dots in the lower right-hand corner, select Templates, then select Delete template, then click the template you wish to delete.
How to turn social/promotion tab and other categories on/off
- On the top right of your Gmail web interface, click the setting button, and go to "see all settings".
- Click the inbox tab.
- In the "Inbox type" section, select Default. Note: To hide all tabs, select another inbox type.
- In the "Categories" section, check the boxes of tabs you want to show. Note: You can't make new tabs; you can only show or hide existing ones.
- Scroll to the bottom, then click Save Changes.
For more info on categories in Gmail, here's Google's documentation.
Need additional help? Search Google Support documentation for Gmail here, or contact the Help Desk by calling 503-777-7525 or emailing cus@reed.edu.