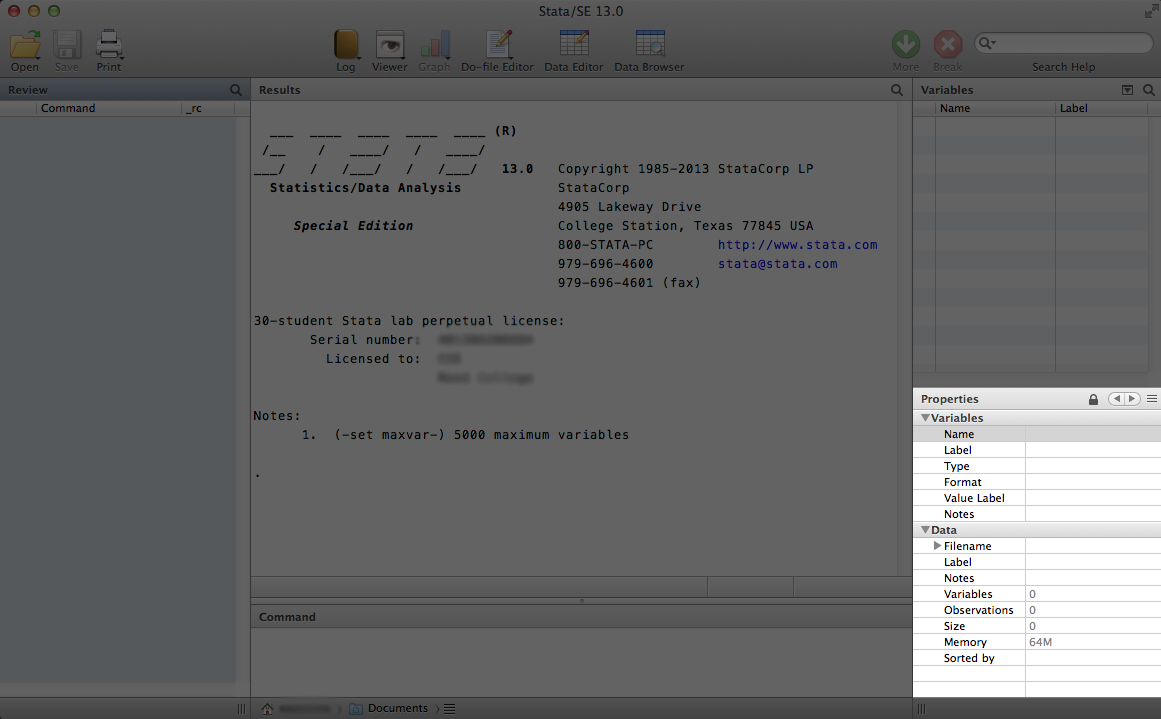
What you see when you open Stata
Stata can be found in the Applications folder of any school machine. On a PC, it is most likely located in Program Files.
Once Stata is open, you will see the following screen:
At the top you should note the Stata toolbar.
![]()
The toolbar contains a number of useful commands. While this is not the only way to access these commands, it is the fastest. The Stata toolbar contains shortcuts to the following, unless otherwise indicated, simply click the icon to achieve the effect.
![]()
The first option on the toolbar is for opening various types of documents. Clicking and holding this button will show you the last few data files opened, allowing you to choose one to open again. Clicking once on this button will open a standard file opening dialogue. This will allow you to browse your computer and choose what file to open. By default, Stata enables Stata data files, but you can also open do files or Stata graphs by changing which type of file is enable in the File Format field of the Open window.
![]()
The second option on the toolbar is for saving an open data file, it is the equivalent of typing "save, replace" into the Command window.
The third option on the toolbar is for printing. Clicking and holding will list every open window that can be printed. Clicking once will open a print dialogue for whichever window you are currently in.
![]()
The fourth option on the toolbar deals with Stata's log. A Stata log file contains a list of every command and result with occurred while logging was turned on. It is a very useful thing to have. To begin logging simply click the log button and select Begin... You will be prompted to name your log file and save it to a location.
![]()
The fifth option on the toolbar will open up a Viewer window or bring it to the front. The Viewer window is a useful way to access help files. You can do this by typing relevant words into the search box next to the magnifying glass or typing a command into the box next to the Find button.
![]()
The sixth button brings your Graph window to the front. Again, useful if you lose it behind other open windows.

The seventh button allows you to edit your do file. Clicking will create a new do file and bring it to the front. Clicking and holding will show a list of your currently open do files and allow you to pick one. Do files are usually lists of commands that Stata can then execute in order. To learn more about do files see their specific help page.

The eighth button opens the active data file (.dta) and brings it to the front, allowing you to edit it.

The ninth button also opens the active data file. However, unlike the editor, the browser does not allow you to alter the data. Thus it is useful and safer in situations where you just want to look at something in your data.
![]()
The tenth button will simply display the next screen in a long display or command.
![]()
The last button will cancel a command. So, if I inputted the wrong command, I could hit this button and it would be just like having never issued the command. Note that this is not an undo button and will only cancel a command that is still running. Also note that it is mostly useful if the command has a long enough output that -more- is displayed. Otherwise you won't cancel it fast enough. Using the X button, shows up as -Break- in red in the Results window and is not included in the Review window.
At the bottom of the toolbar window, Stata displays what directory you're in. Every time you submit a command that refers to a file, this is where Stata will look. If you open Stata by opening a file (rather than just opening the program), Stata will default to that file's location. If Stata's working directory is not the directory your files are in, you have two options.
Often it is easier to use the second method, which allows you to change Stata's working directory to wherever you want. To do this go in the File => Change Working Directory and browse to where your files are located.
Assuming you have lots of folders of lots of data, an easy way to make sure Stata is always looking where you want it to look is to keep a blank .do file in the same folder as the data. Do files automatically open in Stata and a blank one will not alter anything. Then you can just open the blank .do, launching Stata and ensuring you are working in the right directory. See below for more information.
Below the toolbar is the Review window. Every command that Stata runs (whether or not it works) will appear in this list. Usefully, you can click on any command in the Review to put it in your Command window. Additionally, double-clicking a command in the Review window will run it again. You can save the Review window like any other file and use it as a record of what you've done or how you did it.
This window will be blank when Stata is opened, but will not reset when a new .dta file is opened.
To the right of these two windows is the Results window. As the name suggests, the results of your analyses (except graphs) will show up in this window. Also any errors that prevent a command from running will show up here as well. Anything that shows up in blue is a clickable link, which can be useful for figuring out what a particular error message means. Yellow will be used for numbers and green for basically everything else.
Under the Results window is the Command window. This is the window into which you will type commands. Hitting enter will cause Stata to run the command.

To the right of the Results window is the Variables window, which will be blank until you load a data file. It displays your variables, labels and storage types. Clicking on a variable name will make it appear in the Command window.
The Properties window at the bottom right allows you to manage and edit your variables easily. When you select one of your variables in the Variables window, its properties will appear in this window, allowing you to view and edit its name, label, value label, note, format, and storage type.