Using RDC
Follow the step-by-step instructions below to learn how to use RDC's features, including advanced searching, using baskets, downloading, and more.
HUM 110
How to join the HUM 110 group?
How do I create new baskets for HUM 110?
How do I add images to the baskets for HUM 110?
What if I need a new image for HUM 110 that is not in RDC?
Using Basket Features
Access Your Baskets
Creating Baskets
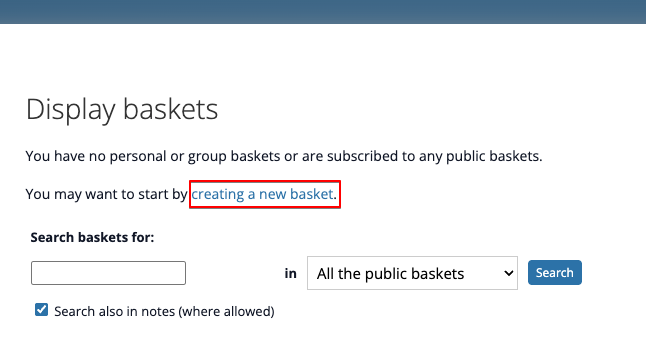
- To save images to your Basket, you will first need to create a basket. After navigating to your baskets, select "creating a new basket."
- When creating a basket, you will be asked to create a “new topic” and a “basket name.”
For example, the topic could be “Week 1,” and the basket name could be the name of your section for that week, “The Art of Art History.”
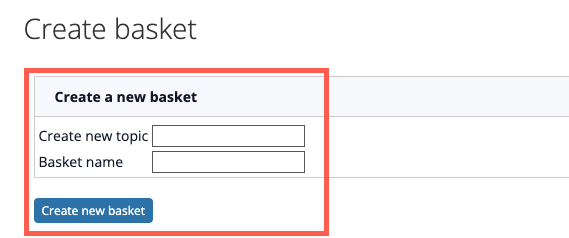
- Once you've created your basket, select "Create new basket."
When you have added a topic, you will have the option to choose it as a topic when creating future baskets.
Adding Images
Images can be added to your basket both from the "Brief view" of a search or from the "Detailed view" of the Record.
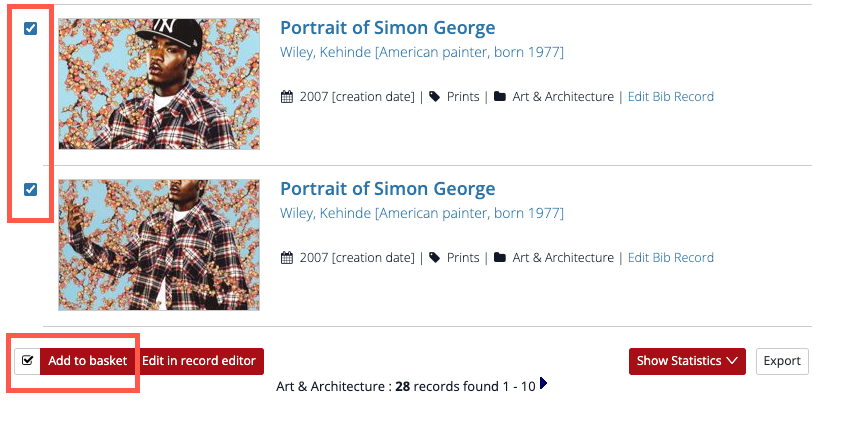
A. Brief View
After you complete a general search for an image or record (Brief view), follow the instructions below to add items to baskets:
- Check the boxes next to the left of the images to add records to a Public or Group Basket. If you want to add multiple images, simply check multiple boxes.
- Then scroll to the bottom of the page and select “Add to Basket.”
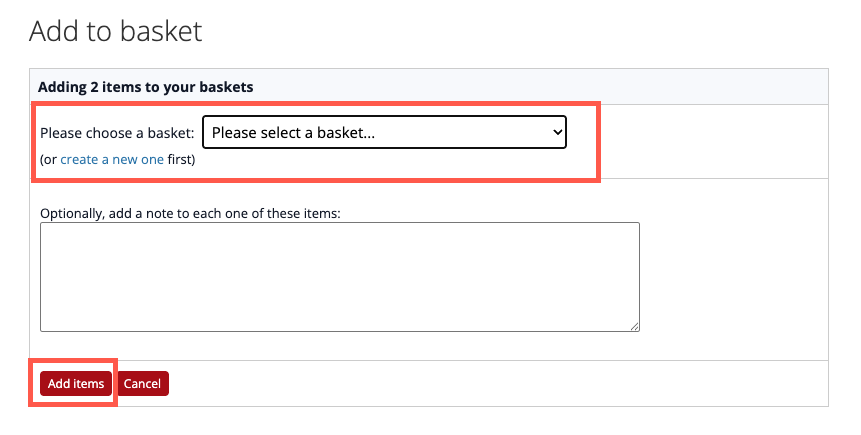
- After you select “Add to Basket,” you’ll be navigated to a new page where you can select the basket where you want the image added.
- After you select your basket, select “Add items.”
OR
B. Detailed View
When you select an image, you’ll be navigated to the Detailed view of the record, which lists the record information (metadata). Follow the instructions below to add a record to a basket:
- Scroll to the bottom of a record and select the “Add to Basket” button in the action bar.
- After you select “Add to Basket,” you’ll be navigated to a new page where you can select the basket where you want the image added.
- After you select your basket, select the red button “Add items.”

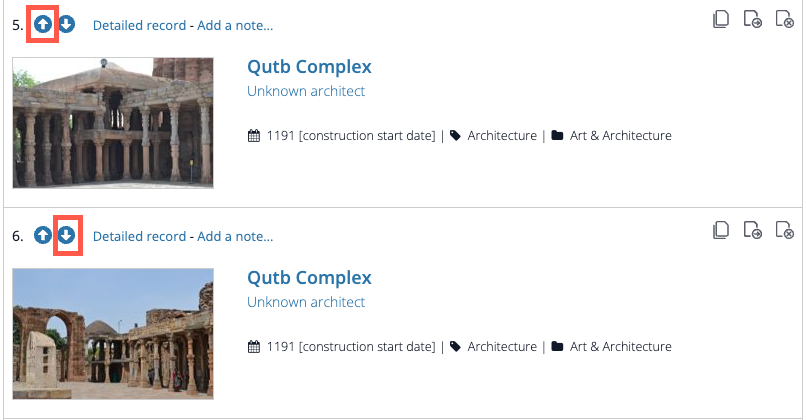
Reordering Images
Custom sort images in your basket by selecting the up or down arrows.
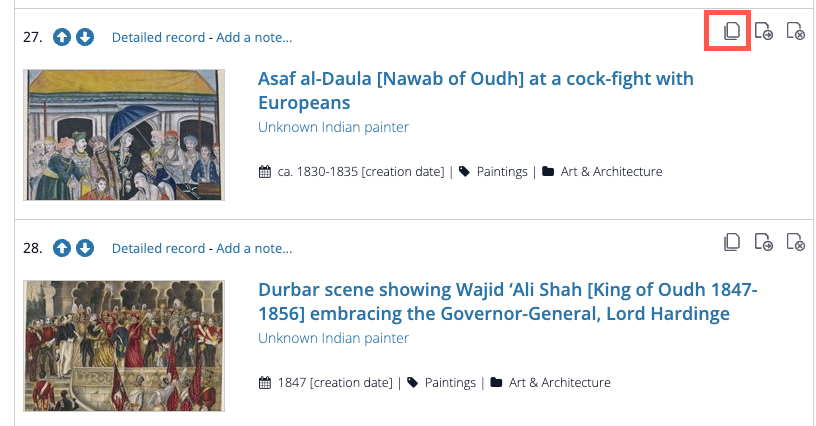
Copying Images to a Different Basket
- Select the first icon on the right of the record to “Copy” the image from your Basket to a different Basket. Note: this does not remove the record from the existing Basket.
- After you select the “copy” icon, you’ll be navigated to a new page where you can select the basket where you want the image added.
- After you select your basket, select the red button “Add items.”
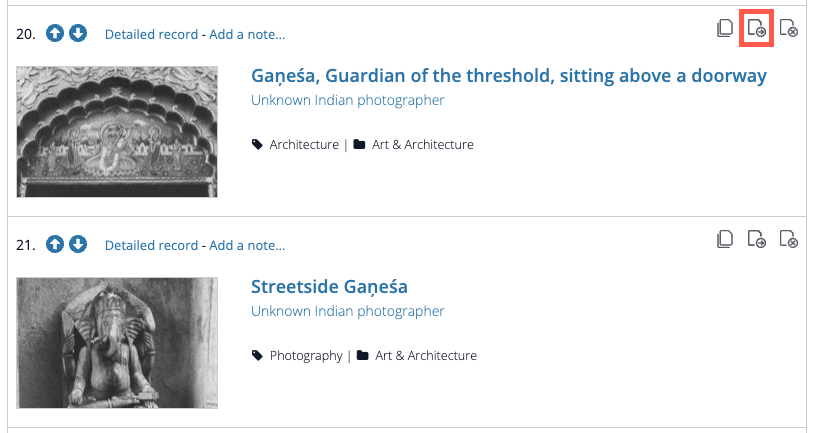
Moving Images to a Different Basket
- Select the second icon on the far right of the record to “Move” the image from your Basket to a different Basket. This removes the image from the existing Basket and moves it to a different Basket.
- After you select the “Move” icon, you’ll be navigated to a new page where you can select the basket where you want the image moved.
- After you select your basket, select the red button “Add items.”
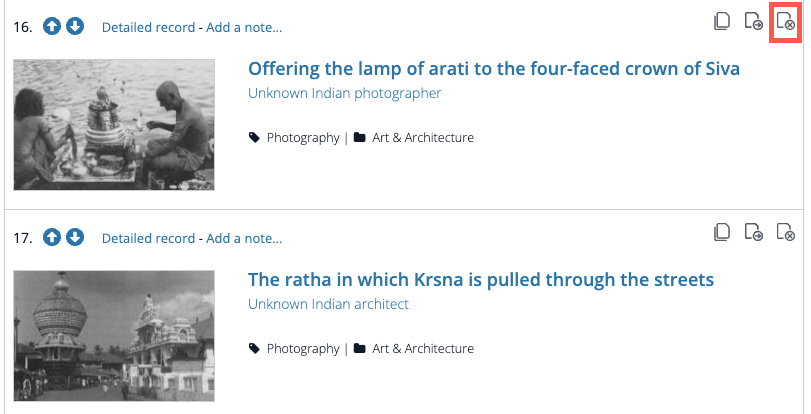
Removing Images
Select the icon on the far right of the record to “Remove” the image from your Basket. This does not delete the record from RDC.
Editing Baskets
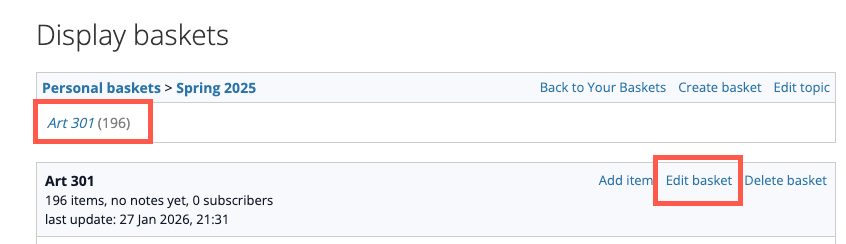
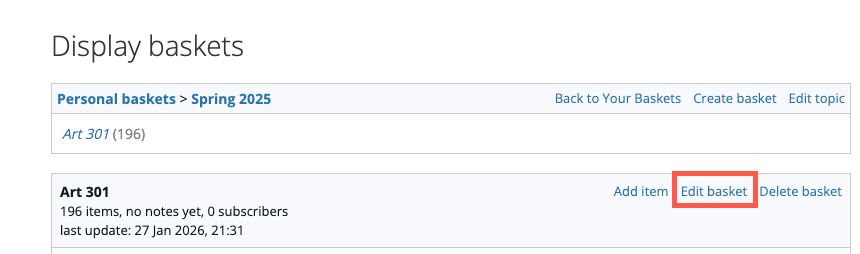
- Navigate to your list of baskets, select the basket name.
- From the basket display, you can “Edit the Basket” settings, “Delete Basket,” or “Edit Topic.”
- Select "Edit Basket" to edit basket settings.
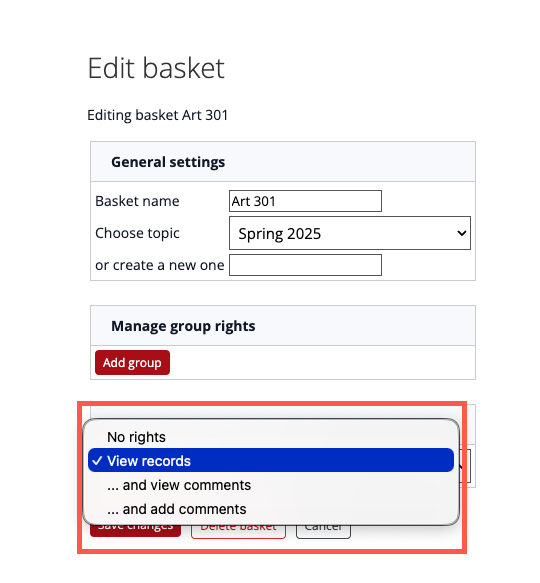
- Under General settings, you can change the basket name, choose a different topic from the list of existing topics, or add a new topic.
Sharing Baskets
In order to share your basket, you must edit your basket and change the global sharing rights. This feature is only for sharing your basket. This does not allow others to add, edit, or remove images from your basket.
- Select “Edit Basket” at the bottom of the page.
- Navigate to “Manage global sharing rights” and select “ View records” from the dropdown.
- Select the red button “save.”
- Navigate back to your basket and scroll down to the bottom until you see “This basket is publicly accessible at the following address,” then copy and paste the shareable link.

Didn’t work? Are you teaching HUM 110? Scroll up to the HUM 110 section at the top of this page to read instructions about the HUM 110 Group.