- The TinyMCE editor offers features via both dropdown menus and a toolbar.
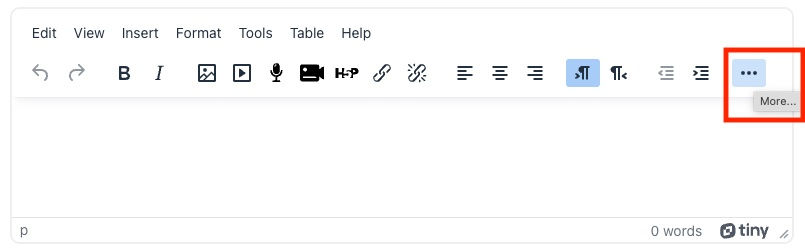
- On smaller screens, the full toolbar may not be visible. Click the “...” button on the toolbar to see all of the tools.
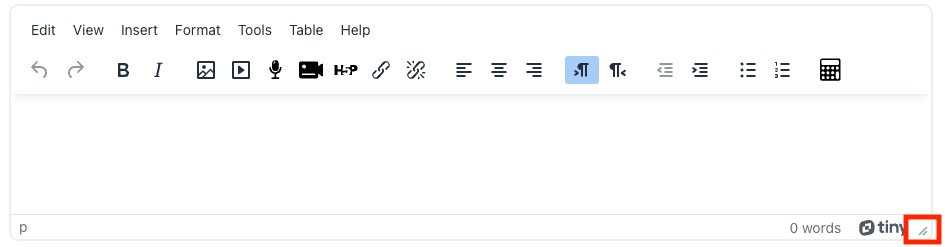
- Sometimes the text area is especially small, and text may not be visible at all. Expand the text area by clicking and dragging on the lower right corner.
Moodle text editor
Moodle uses TinyMCE as the default text editor. Learn more at the Moodle support page for the TinyMCE editor.
Using the text editor
Adding and editing images
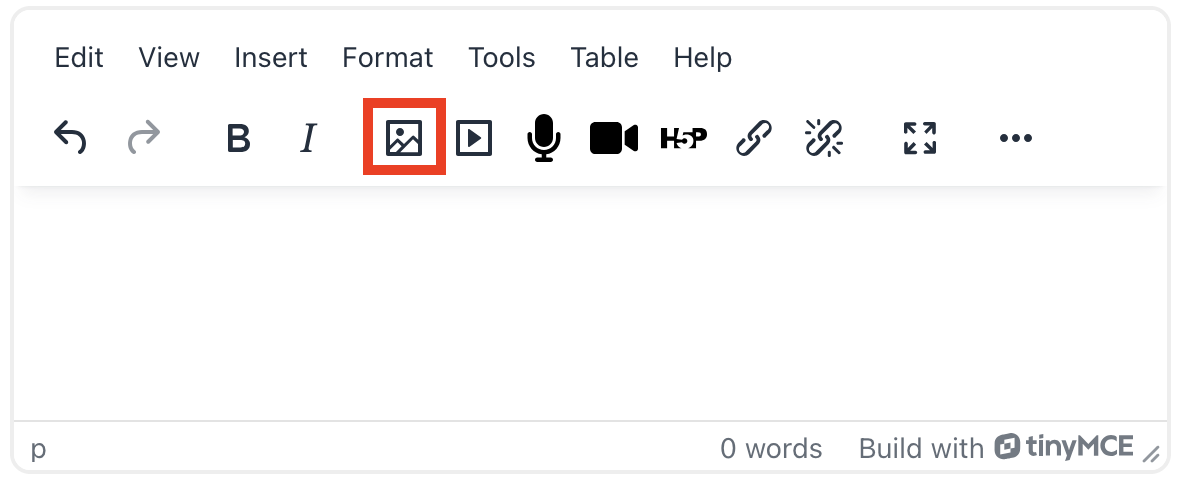
- You or your student can add images to Moodle anywhere you see the TinyMCE text editor. Use the image editor button to add an image from your computer. You can drag and drop your image into the upload area in the image editor or click to choose an image from your computer.
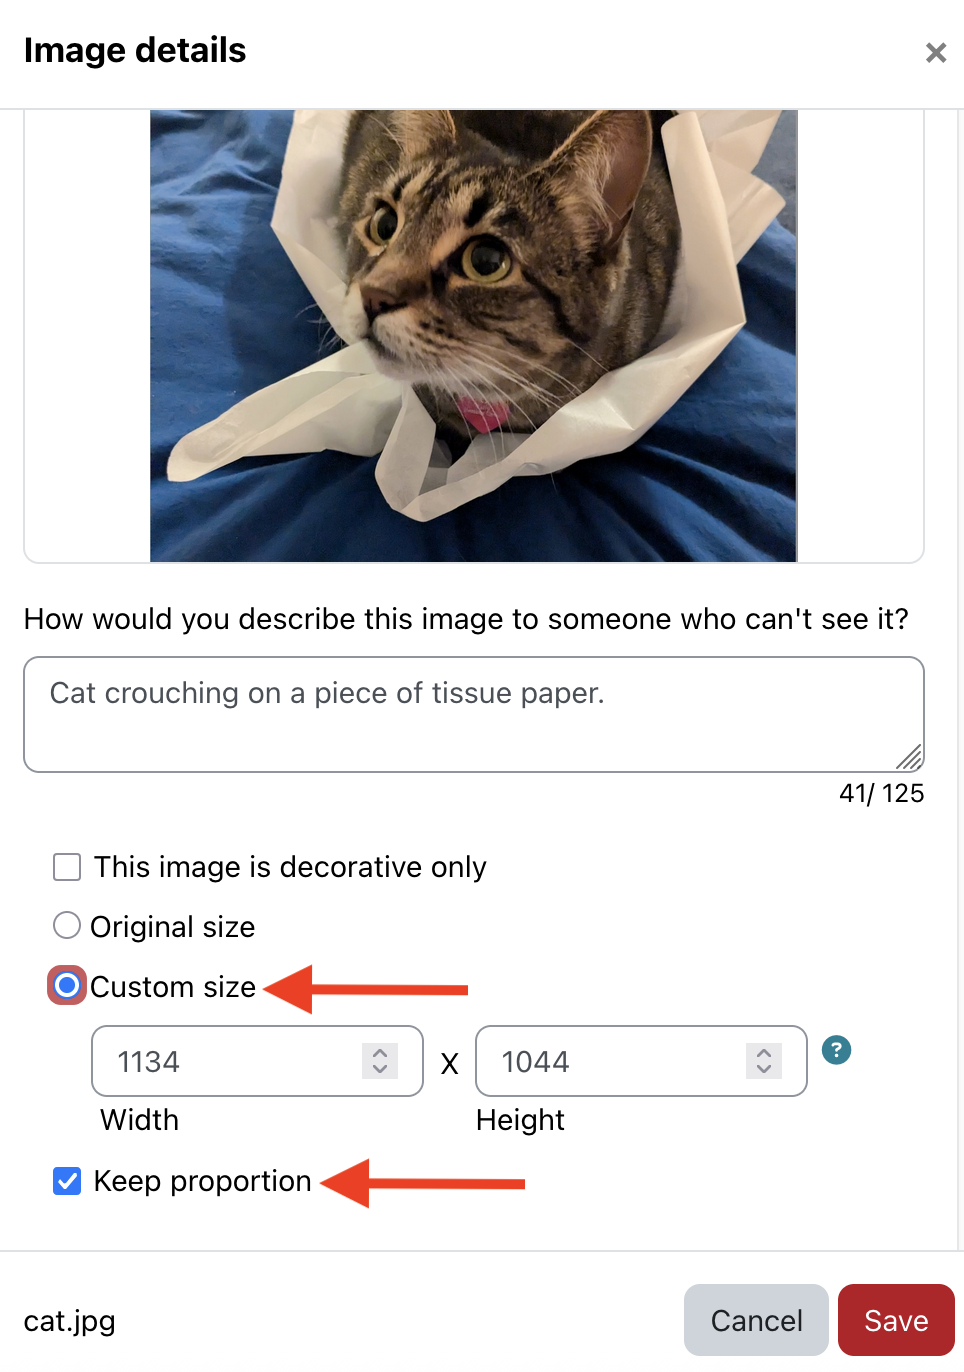
- For accessibility purposes, please always access the image editor to add alternative text to your image in the box labeled "How would you describe this image for someone who cannot see it?" If your image is decorative only, check the box to indicate that.
- We suggest choosing the "Custom size" option so that your image displays correctly. Make sure the "Keep proportion" box is checked.
- If you dragged and dropped an image directly into a Moodle text and media area without accessing the image editor, your image may be too big to display correctly. Access the image options and choosing "Custom size" should fix the issue.
Links and uploading files
You can upload and make files via link in any text area.
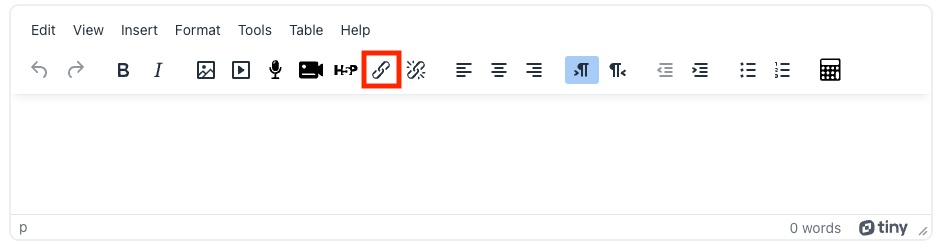
- Use the toolbar to insert a link.
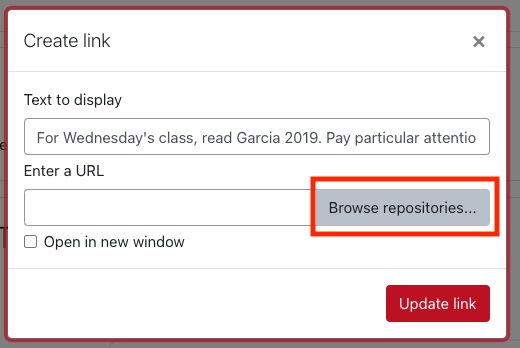
- Select the option to Browse repositories.
- Follow the instructions for using the Moodle file picker.
- Click the “Update link” button.