Securing Your Zoom Meeting
All Zoom meetings held using Reed College licenses use strong encryption for the desktop client. This setting is account-wide and cannot be turned off or changed by individual users.
With the proliferation of Zoom as a tool to connect people, many colleges have also seen malicious actors trolling Zoom meetings. This may take the form of someone entering your meeting, sharing inappropriate content or saying inappropriate things. Here are some recommendations on settings to protect your meeting from bad actors.
- In-Meeting Security Controls
- Require a Password
- Disable "Allow participants to join anytime"
- Enable the Waiting Room
- Limit Screen Sharing
- Recording Security
- Remove Participants
- Disable Private Chat
- Lock your Session
- Update your Zoom Application
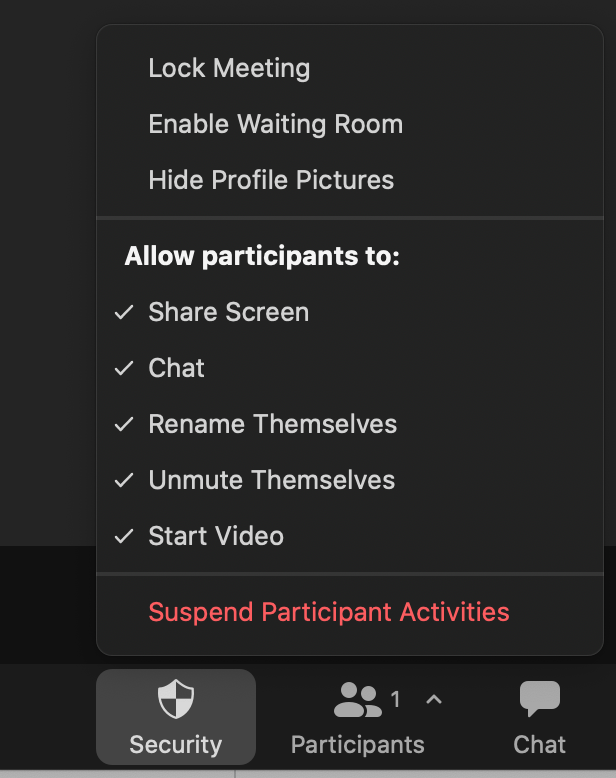
In-Meeting Security Controls
The most recent version of Zoom provides a security setting button in the meeting controls. Click this to toggle some security precautions on the fly.
Require a Password
Require a password for your meeting and distribute that password to your class via Moodle or another authenticated service. To require a password:
- Open the Zoom application and log in.
- Click on the Schedule icon for a new meeting, or Edit an existing meeting.
- Under Security, check the Passcode option.
Zoom will include a special "key" in the meeting URL that will let people in without knowing the password. This is ideal if you share the link securely, either on Moodle or the campus directory, or directly via email. If you need to share the link publicly, remove the "pwd=..." from the end of the meeting URL. Joining participants will then be required to input the password before joining your meeting.
Disable "Allow participants to join anytime"
We recommend that you do not enable "Allow participants to join anytime," and by default this option is turned off. Participants who attempt to join the meeting before the host will receive a standard message. Once the host begins the meeting, waiting participants will join automatically.
Enable the Waiting Room
The waiting room feature (found under Security when scheduling a meeting) allows the host to let in each participant manually and one at a time. This feature grants added security, and may be particularly useful for office hours or other cases where regulating entry and/or order of entry is important.
Limit Screen Sharing
During your meeting, to limit screen sharing to only the host:
- Click the up arrow next to Share Screen and select Advanced Sharing Options.
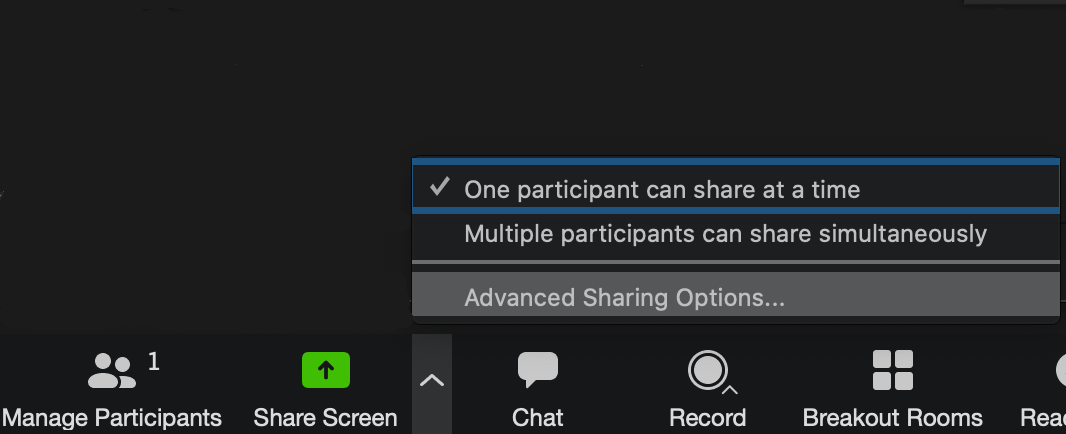
- Check the box to limit screen sharing to host only.

Recording Security
By default, only the meeting host can record a meeting. If a participant attempts to record, the host receives a pop-up message notifying them of the request and asking to grant permission for participant recording. Individual users may turn off the ability for participants to record with permission in their account settings.
Remove Participants
If needed, you can remove someone from your class/meeting. To remove participants:
- Click Participants at the bottom of the Zoom window.
- Next to the person you want to remove, click More.
- From the list that appears, click Remove.
You can also do this via the Participants pane, if visible.
Disable Private Chat
We recommend disabling private chat between participants to prevent inappropriate content sharing through this channel and to reduce distractions during meetings. To disable private chat for all of your meetings:
- Go to the Zoom website and sign in to your account.
- Click Settings on the left side of the page.
- Scroll down to the In meeting (Basic) section and click the icon for the Private chat setting. When the icon is gray, private chat is disabled.
To disable private chat for a specific meeting:
- Start the meeting.
- Click the Chat icon at the bottom of the Zoom window to open the chat panel.
- Click the three dots at the bottom right of the chat panel and select the option that works best for your meeting (Participant can chat with no one, Participant can chat with host and co-hosts only, Participant can chat with everyone publicly).
Lock your Session
Once all participants have joined, the host can lock the meeting to prevent anyone else from joining.
- Click Manage Participants at the bottom of the Zoom window.
- At the bottom of the participants pane, select More…, then Lock Meeting.
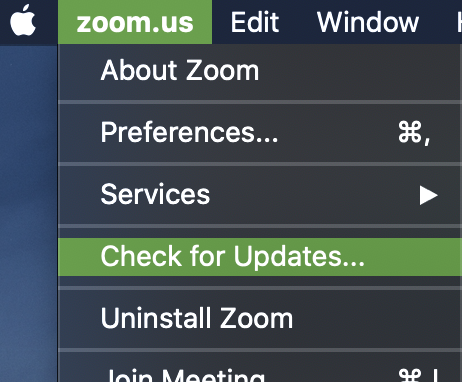
Update your Zoom Application
Keeping the Zoom application up to date is important. The latest versions provide security enhancements and additional features. Zoom is automatically updated on all Reed-owned staff and faculty machines, however these updates can only be applied when the application is closed. When possible, be sure to quit the program when you're done with your meeting.
To check if there are updates available for Zoom: open Zoom, click the zoom.us menu, then select Check for Updates...
If your version is out of date, you will be prompted to upgrade.